Showing posts with label reclaim. Show all posts

Saturday, March 30, 2013

Recycled and Reused Louvers

For this blog post, I will be taking a detour from the House Tour and would like to share with you on some of the wood projects that we have been up to.

Hubby had his eyes set on some louvers that we saw at a lumber yard that recycles old wood items like doors, windows and woods.  These louvers are made out of Chengal wood and is easily about 100 over years old.  Just lifting a 2ft Chengal louver is heavy enough!

What is a louver you ask?  Well, according to Wikipedia, a louver (American English) or louver (British English) is a window blind or shutter with horizontal slats that are angled to admit light and air, but to keep out rain, direct sunshine and noise.  The angle of the slats may be adjustable, usually in blinds and windows or fixed.

In Malaysia, you can find louvers in old colonial houses like those in Kuala Lumpur, Penang & Ipoh.  However, in newer houses, you'll not find them anymore as modern louvers (if any) will be made out of metal.

So Hubby had this idea of covering the air-conditioning compressor area with the 4ft louver we purchased.  He also had the idea of making the smaller louvers as bench legs which were 2ft each for our dinning bench.

An old colonial house with the louvers above the window shutters
Another picture of the colonial louvers
We were deciding on which louvers to choose.
Initially we thought of the louver lying on the floor with the hold in
middle.  We thought of adding in a Nyonya glass but decided against it
as it would be too much work to do.
So in the end we decided on this louver, 4ft and perfect
for the air-conditioning compressor area.
This is the louver that we bought for the air-conditioning compressor area.
Once we brought it home, we had to take out the planks,
sand each one down as well as the frame.
The planks which had about three or four coats of paints over the years.
After sanding down the frame, hubby varnished the frame
and gave it some chemical treatment.
In the end, this is the varnish color that we choose. 
The planks were also varnished and fitted back.
Here is Hubby fixing the louvers onto the air-conditioning compressor area.
Before : The air-conditioning compressor area is empty and open.
After : The air-conditioning compressor area is now covered up with the
beautiful restored and recycled louver.
After : Another after picture of the facade.

Wednesday, December 26, 2012

Four Panel Doors


One of the features of this house that we liked very much was the four panel French doors.  The outside of these doors were painted white while the inside was painted brown.  As usual, our Contractor advised us to dispose of these doors, trying to convince us that we can't bring back the wood color, that if were to use them again, two of the doors had to be 'dead' doors meaning that it could not be opened.

It was a good thing that Hubby and myself were adamant.  For the past six months, all our weekends were spent sanding down the doors to wood grain.  We had to take the glass panels out, wipe them clean, buy new beading to fix them back and varnish the doors.  We even had to fix the grill ourselves, after ordering the grill from the grill contractors.  The sad part about these four panel French doors is that we had to fix grill, it sort of spoilt the beauty of the four panel French doors.

Here are the progress of our four panel French doors.

BEFORE : The four panel French door before the renovation
AFTER : The four panel French door after the renovation
The four panel French door after renovation, sand down to wood grain
Hired help varnishing the four panel French doors
The doors taken out and getting ready to sand down
The wood was sanded down to wood grain
Tried using paint remover to remove the white paint at  the beading area.
Not successful, so rather than waste time, we bought new beadings and fixed them.
A close up of the sanding down


Saturday, November 24, 2012

Furniture Refurbishment

I have been inspired by a DIY blog called http://www.younghouselove.com/

They are a husband and wife team that does a lot of DIY projects around their  house.  The best part is that they share their secrets and ideas.

I have been picking up some furniture that people have thrown out of their house.  They seem to be in good condition, and unique in design.  They just looks a little old and worn out.

Here are three rattan chairs that I have found and brought home.  Rattan chair ONE is rather common in design, but I liked it and it is comfortable to sit on.  Rattan chair TWO was picked up from the same rubbish dump as Rattan chair ONE three months later.  Rattan chair THREE was found sitting outside opposite a house which was near to our new home.  

With all these three chairs, what I did was spray paint them in white, changed the cushion cover for one chair, bought a cushion for RM10.00 for another and left the one empty.
The condition of Rattan Chair ONE which was found at a rubbish dump
After a few repairs and a coat of white spray paint, this chair is good to sit on.  No cushion needed.
Rattan Chair TWO was also found at the same rubbish dump as Rattan Chair ONE about three months later.  It's unique in design and heavy too.  Gave it a wash and dried it out in the sun.  Sand paper a few parts too.
Gave it a few coats of white spray paint before it could be finally used.
Bought a cushion for RM10.00 at a local cushion and curtain shop.  It now sits at one of the corner in our living room.
Chair Rattan chair THREE was found outside opposite a house nearby to our new home.  It was ivory in color and the cushion was worn out.
Sand paper some of the sides, gave it a few coats of white spray paint and put a new cloth over the old cushion.  This chair too sits at the corner of the hall


Thursday, October 4, 2012

Chronicles of our Main Door

Our main door is now almost complete.  We have hired help to varnish the door and it looks beautiful!  This door has now become a conversation piece in the neighbourhood as well as contractors who have been moving in and out of the house.

Now all is left to do is to fix the glass at the side.  We wanted Nyonya glass but at the very last minute, BTW this is rather norm already coming from our Contractor, he said that Nyonya glass do not come in the size that we want.  He suggested that we go for normal glass and tint it! I am like "What the &%^*???"  Anyway so now we are sourcing for the glass on our own.

So we'll leave you now with the chronicles of how our main door became ...

The chosen Chenggal wood for the main door
Cutting the wood to the desired size
The Master and his hired help
The door frame and the door
The door frame being installed 
The locksmith installing the lock
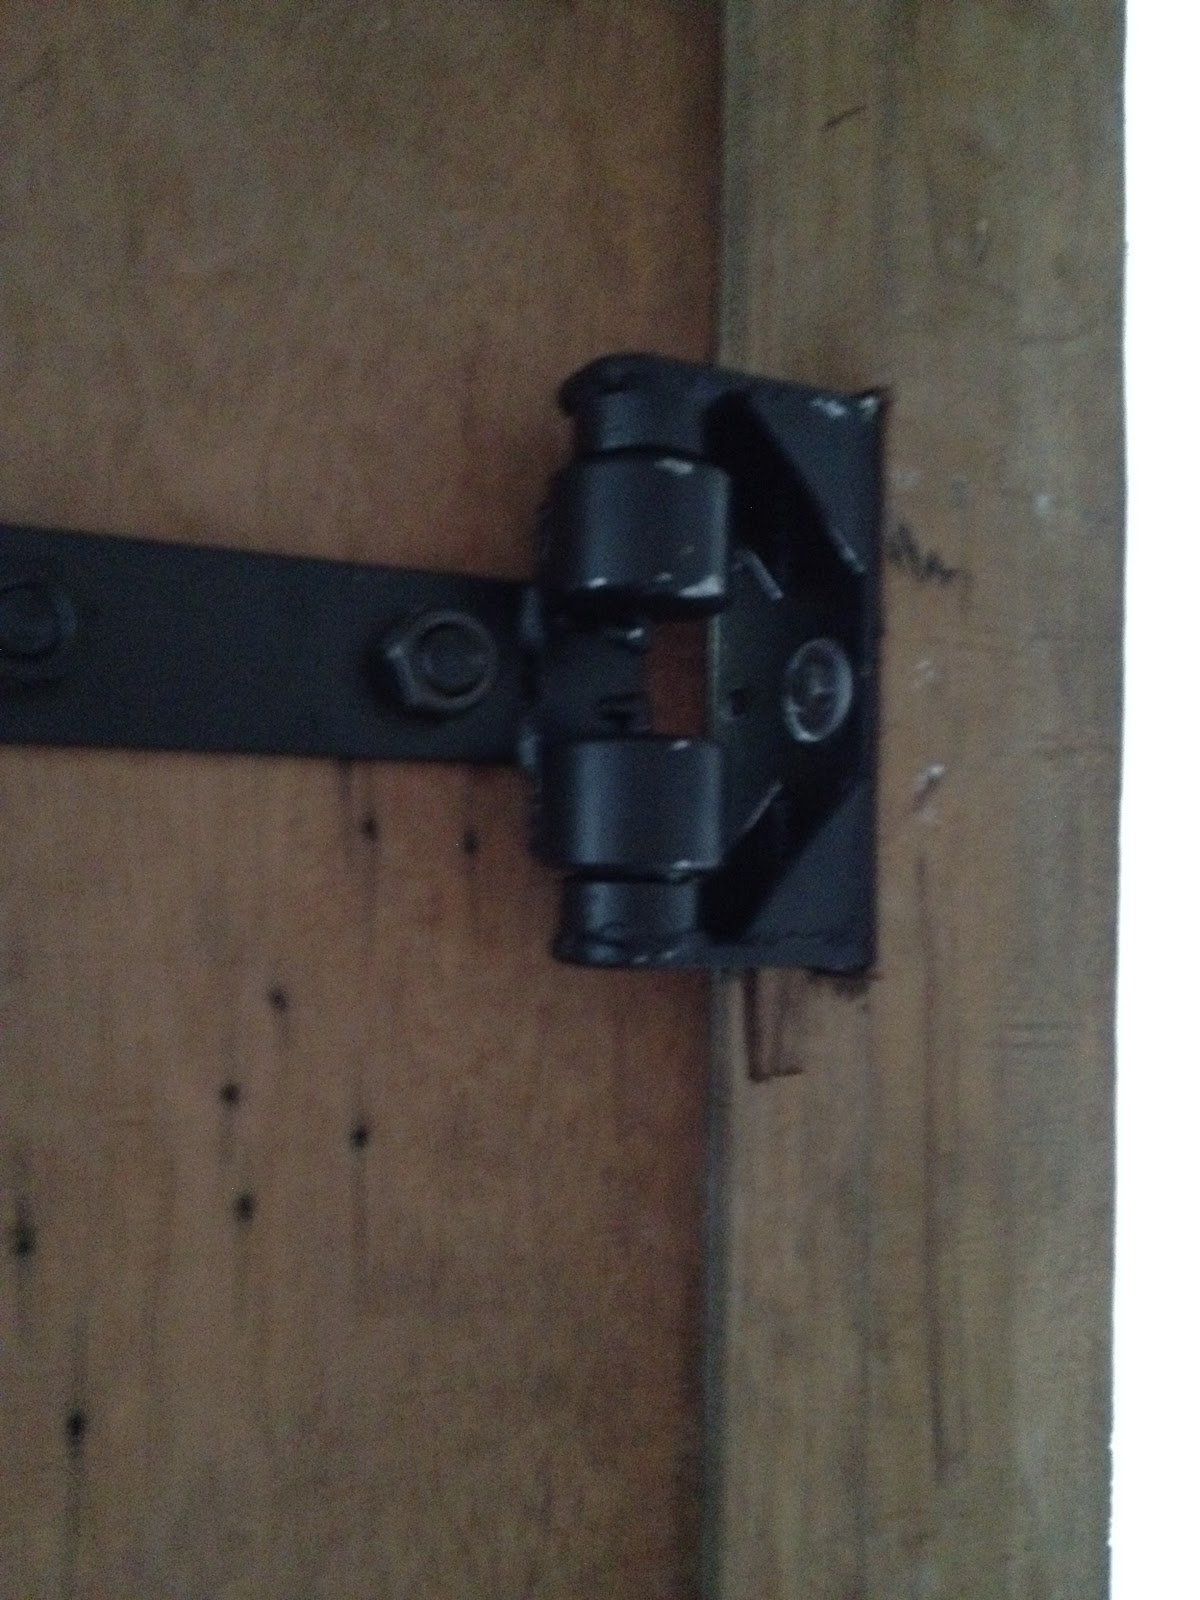
The modified hinge for the main door
The main door and it's maker
The main door gets a coat of varnish


Friday, May 4, 2012

Main Door

The construction of the house is coming up fast.  I've been so busy with other projects that I've neglected updates on our blog site.

We wanted a main door that stands out, not an ordinary door that every house has. We wanted a main door that made a statement, so, ... dear hubby decided to build his own door.  We have been sourcing for wood and we have an idea on how we want our front door to look like.  We have also been sourcing for wood for making two benches for our dining table also

So for two weeks or so we've been driving to some really 'ulu-ulu' places to look for good, cheap if not reasonable wood.  After going to point A and point B and going back and forth, we've bought our wood.

Now, once the door is up, we'll post some pictures.  In the meantime, we'll leave you with some photos on the 'birth' of our main door and most importantly wish us LUCK!

The railway slippers for the bench legs
What we think is Balau wood for making our bench  for the dining table

An idea of how we want our main door to look like

A carpenter's paradise - heaps of wood

The wood we bought for our main door

The workers cutting the wood for us

The cut wood