Friday, February 15, 2013

House Tour : Backyard

We extended our home all the way to the back and therefore, we do not have a small little garden behind.  However ... we do have a back lane, which by right is public or government property.  Our back lane is protected by two gates at the end of the each end house, so in a way it gives us a little security.

We had excess tiles from our renovation and therefore decided to tile the back lane as we foresee that we will be using the back lane often.  We also made a washing area at our back lane.  This is to facilitate when we entertain and the washing of the dishes can be done outside.  Our laundry is also hung behind and lots of wood work projects is done at our back lane. By the way, we had mix reaction when we tiled the back lane, my mother's was that we were helping out the local city council by tiling their area (sarcastically).  Our neighbours welcomed the idea as it kept our back lane clean and some of them were considering doing it.  Our relatives and friends thought that it made our back lane look clean and tidy.

The back lane during renovation ~ securing the floor  before laying tiles
The back lane from a different angle during renovation
Tiles laid and the counter top for the sink made


Thursday, February 7, 2013

House Tour : Dining & Kitchen

Our Dining area is split one level up and it's an open area.  From the Dining area you ware able to see the Hall, Foyer and outside of the home.  Dining area then leads to the Kitchen which is an open concept yet closed in a sense that you are not able to have a full view if you are sitting in the Hall or Foyer.  Unfortunately our Kitchen does not have a wet or dry kitchen.  However, we have tiled our back lane with left over tiles and made a wash area where if we entertain, the dishes can be washed outside.

We have chosen different tile colors to indicate Dining and Kitchen area.  White matt tiles for the Dining which is also the same color as the Hall and charcoal grey with orange insert for the Kitchen tiles.

Kitchen cabinets were custom made by Kitchen Palace.  We chose the color white for our cabinets as we wanted our Kitchen to look bright.  The home appliances were bought during Home Deco fairs.  They were display sets and we have got a certain discount off them.

Here are some photos of our Dining and Kitchen area before and after renovation.

Before renovation, original Kitchen with it's cabinets
Before renovation, the dry kitchen on the left and wet kitchen on the right
During renovation, the kitchen being extended all the way to the back
During renovation, the old cabinets removed
During renovation, the sink area
During renovation, the sink area, wall is tiled with
white tile and trimmed with orange
During renovation, the kitchen wall has been screed
During renovation, the kitchen wall is given a protective coat 
Installation of Kitchen cabinets
Our Kitchen being put to use
During renovation, white tiles being laid at the Dining area
During  renovation, white and grey tiles to 'boarder' off the  two areas
During renovation, the kitchen with charcoal grey tiles and orange inserts
After renovation, the Dining area on Christmas 2012 morning

Friday, February 1, 2013

House Tour : Hall

Once you walk into our  house, you'll land yourself in the foyer and on the right would be our hall.  As of now, it's a little empty as we've not found a sofa that we were able to fall in love with.  I have something in mind, but don't want to rush into buying the sofa.  So for a temporary solution, we've put the outdoor teak two seater as well as some rattan chairs in the hall.

As usual, the hall portion like every room in the house is still in progress.

Before renovation, view from the dining area, you'll see the hall on your left
and the foyer on your right
Before renovation, the hall looking into the dinning area
The mess during renovation
Floor has been screed and ready to be tiled
Christmas 2012 ~ Us with our temporary furniture set up 
During renovation, view from dining area looking into the hall
Little Rascal wants in on the action
After renovation, Carolers at our home ~ Christmas 2012 
During renovation, floor of the hall has been screed, ready to be tiled
Dining area on Christmas morning looking into the hall area

Wednesday, January 23, 2013

House Tour : Foyer

We sort of like created a foyer for our home.  We kept the entrance to our home with minimal furniture.  Only the walls are a little empty.  Once the foyer is at it's full 'glory', we'll post more pictures.  As for now, enjoy those that were in progress ...

The foyer which was actually the 2nd hall before the renovation
Before the renovation, the window is now the main entrance
Before the renovation, the wooden panel the hides the staircase
During the renovation, the window being broken down
During renovation, this is the main entrance and foyer
The floor being scree before laying tiles
Tiles being layed
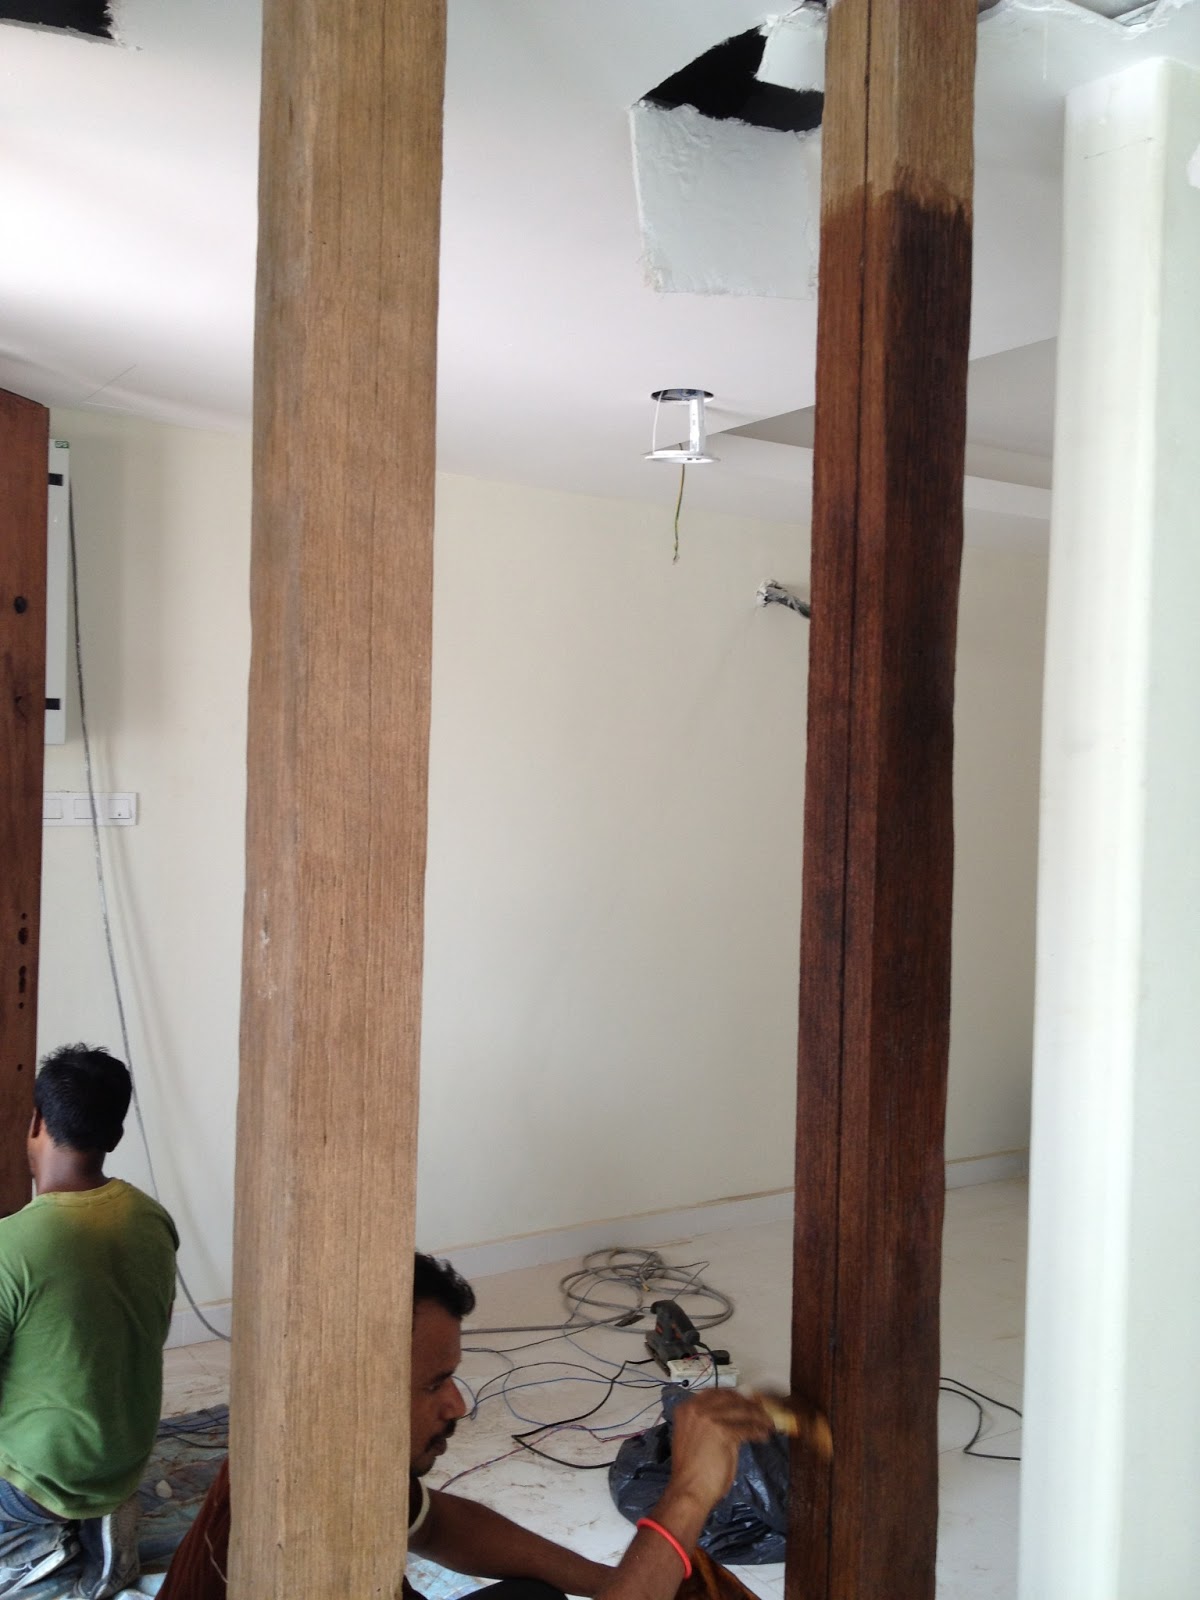
DIY : Installing the wooden pillars (Chengal Wood) that Hubby sanded down with hire help
Varnishing the wooden pillars


Monday, January 14, 2013

House Tour : Facade

It has since past three months that we've moved into our new home.  We are still settling in and the house is still in progress.  There's so much to be done and frankly, I feel that we're taking our time.  Not something that I am proud of.

So in these few days, I hope to guide you through some of areas of our house and do bear in mind that it's still in progress.

The original with it's 'FOR SALE' sign
The front porch
The garden
After the renovation
The front porch with the patio doors
  MORE TO COME ...


Wednesday, December 26, 2012

Four Panel Doors


One of the features of this house that we liked very much was the four panel French doors.  The outside of these doors were painted white while the inside was painted brown.  As usual, our Contractor advised us to dispose of these doors, trying to convince us that we can't bring back the wood color, that if were to use them again, two of the doors had to be 'dead' doors meaning that it could not be opened.

It was a good thing that Hubby and myself were adamant.  For the past six months, all our weekends were spent sanding down the doors to wood grain.  We had to take the glass panels out, wipe them clean, buy new beading to fix them back and varnish the doors.  We even had to fix the grill ourselves, after ordering the grill from the grill contractors.  The sad part about these four panel French doors is that we had to fix grill, it sort of spoilt the beauty of the four panel French doors.

Here are the progress of our four panel French doors.

BEFORE : The four panel French door before the renovation
AFTER : The four panel French door after the renovation
The four panel French door after renovation, sand down to wood grain
Hired help varnishing the four panel French doors
The doors taken out and getting ready to sand down
The wood was sanded down to wood grain
Tried using paint remover to remove the white paint at  the beading area.
Not successful, so rather than waste time, we bought new beadings and fixed them.
A close up of the sanding down


Saturday, November 24, 2012

Furniture Refurbishment

I have been inspired by a DIY blog called http://www.younghouselove.com/

They are a husband and wife team that does a lot of DIY projects around their  house.  The best part is that they share their secrets and ideas.

I have been picking up some furniture that people have thrown out of their house.  They seem to be in good condition, and unique in design.  They just looks a little old and worn out.

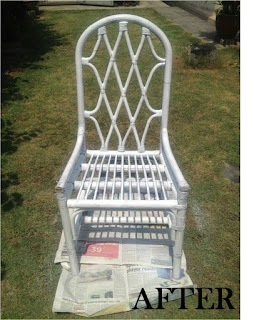
Here are three rattan chairs that I have found and brought home.  Rattan chair ONE is rather common in design, but I liked it and it is comfortable to sit on.  Rattan chair TWO was picked up from the same rubbish dump as Rattan chair ONE three months later.  Rattan chair THREE was found sitting outside opposite a house which was near to our new home.  

With all these three chairs, what I did was spray paint them in white, changed the cushion cover for one chair, bought a cushion for RM10.00 for another and left the one empty.
The condition of Rattan Chair ONE which was found at a rubbish dump
After a few repairs and a coat of white spray paint, this chair is good to sit on.  No cushion needed.
Rattan Chair TWO was also found at the same rubbish dump as Rattan Chair ONE about three months later.  It's unique in design and heavy too.  Gave it a wash and dried it out in the sun.  Sand paper a few parts too.
Gave it a few coats of white spray paint before it could be finally used.
Bought a cushion for RM10.00 at a local cushion and curtain shop.  It now sits at one of the corner in our living room.
Chair Rattan chair THREE was found outside opposite a house nearby to our new home.  It was ivory in color and the cushion was worn out.
Sand paper some of the sides, gave it a few coats of white spray paint and put a new cloth over the old cushion.  This chair too sits at the corner of the hall