Showing posts with label Patio. Show all posts

Thursday, June 5, 2014

DIY Patio Update : Roof Tiles

Wow ... blogging duties neglected ... anyway ... here we are back again ... we have a lot to update but let's start with the roof tiles for the patio.

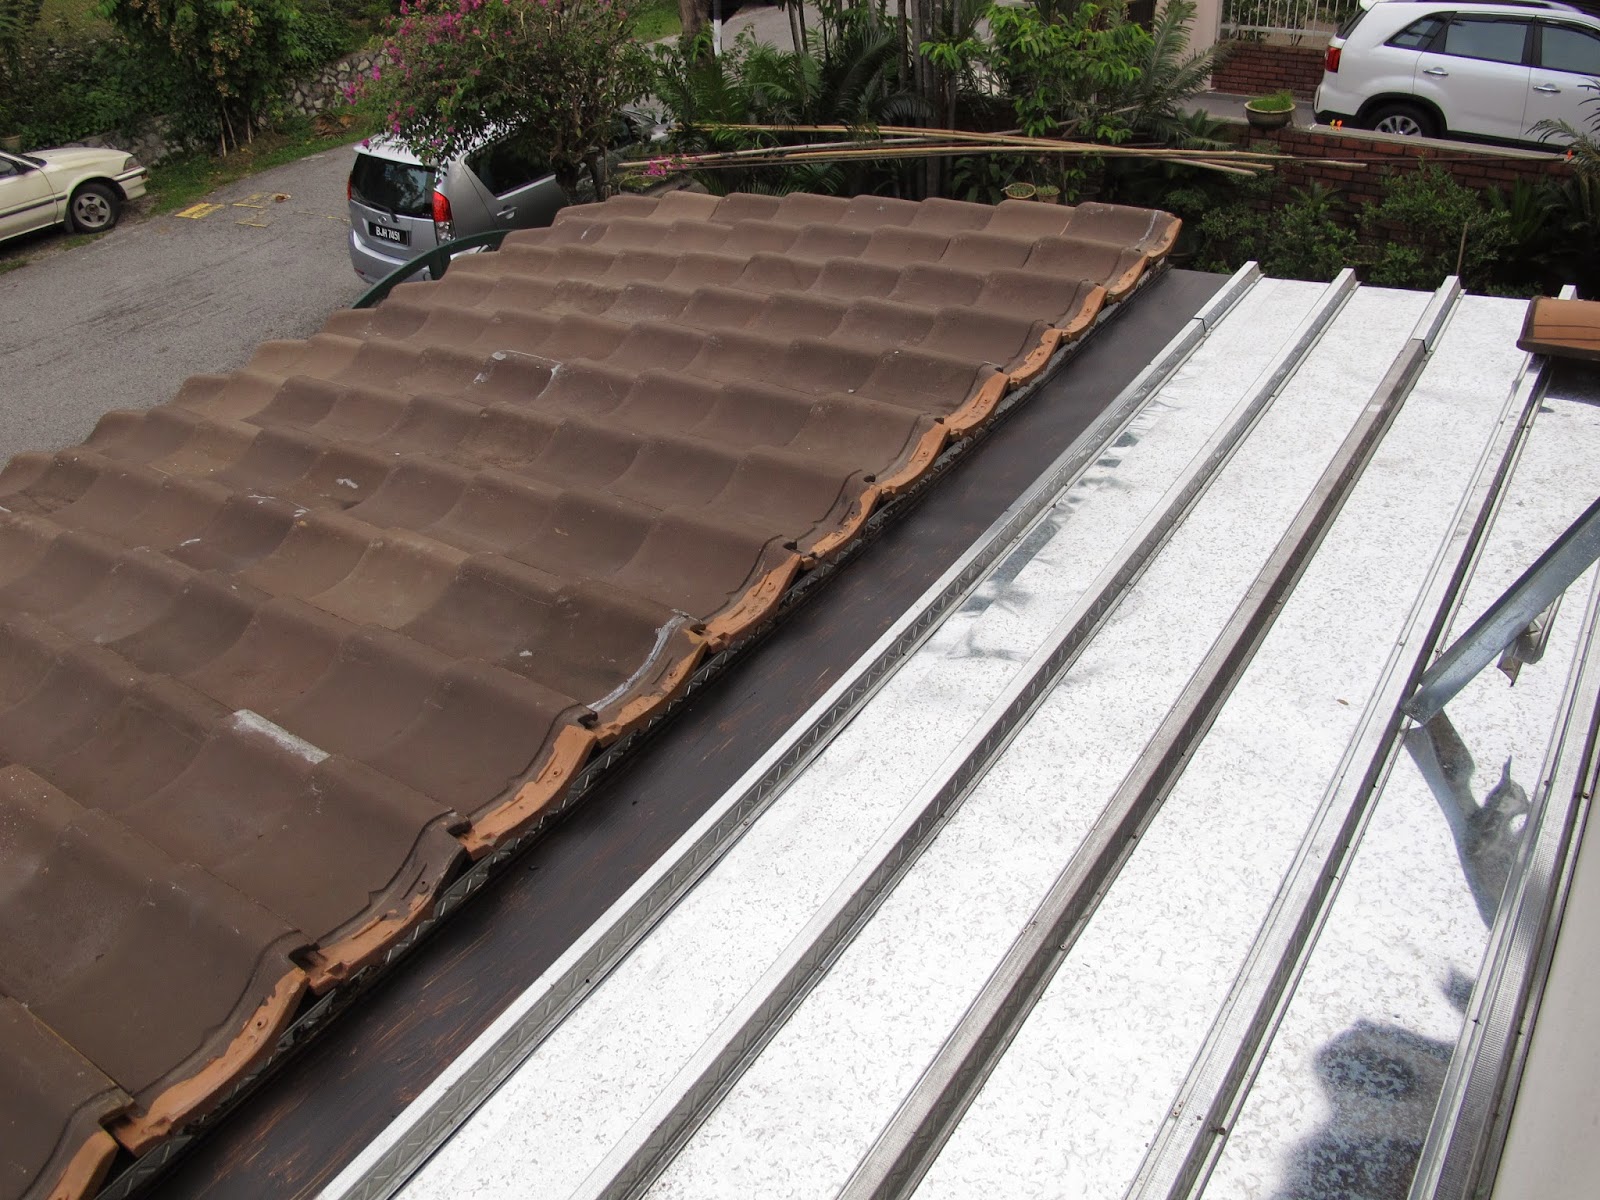
Ok, so the roof tiles are finally up after 5 weekends.  It took team work to get those tiles up.  Hubby was up at the roof, me on the ladder and kids on ground, kids passing me the roof tiles and me to hubby.  The roof tiles had to be removed after it was installed as it was leaking.  After Hubby rectified the problem, fingers crossed, so far so good.  Only left to do is to installed the gutters as rain water is going into our neighbors compound.

So here are the pictures and what we did ...

Tiles being brought up
The baton is set according to the tiles
A close up of the baton
The baton being secured onto the plywood
The roof tiles are ready to be laid
Tiles being laid from outer roof to inner roof


The plywood is quoted with water proof paint, Bituflex 101

Tiles are laid in progress


Friday, January 17, 2014

DIY Patio Update

Our DIY Patio is about 60% completed.  We are now preparing for the roof tiles.  Initially we planned that once the insulation is up, we will install the roof.  However, when you look up, you will see the insulation, something like looking at tin foil. So it was a no no.  Then, I wanted the look of something like a resort, where you look up, you will see the roof tiles.  That idea too was 'rejected' by Hubby, reason being was that it would make the patio very hot if we wish to sit there in the afternoons, due to no insulation.

So now, Hubby has install ply wood which was stained, followed by the insulation and then up goes the roof tiles. More updates soon!  In the meantime, here are some pictures to show you on our DIY Patio progress.

Recap : BEFORE DIY Patio was installed
Recap : AFTER DIY Patio was installed
Cutting the ply wood to size
Hubby's new 'toy' a jigsaw cutter.
Purchase for less that MY100.00 at Cash Converters
BEFORE : We will be looking at the insulation,
which looks like aluminium foil
AFTER : Now we will be looking at ply wood,
which feels much cosy to look at
The insulation before the roof tiles is installed

Saturday, November 30, 2013

DIY Patio

We love the idea of a cosy patio, where we can have breakfast, tea and entertain families and friends.  A patio surrounded by comfortable furniture, lush green plants and beautiful and colorful flowers.  So when Hubby said that the patio will be up before Christmas, I was excited.  Hats off to Hubby who built the patio from scratch.

The wood that we used for our patio is Chengal wood and it is recycled wood.    We acquired some of the wood from a public playground, where the multiplicity council decided to replace wood with high quality plastic, and some wood were purchased from our regular lumber yard, which were also recycled from old kampung houses.

For the roofing, we will be using roof tiles.  Initially, we were contemplating to use glass sheet or poly carbonate glass.  However, we felt that this would not give us that cosy feeling.  We wanted a resort like feeling, and to match the house so we decide to go for roof tiles.  I will save the story of our roof tiles for another blog post.

So here are the chronicles of our DIY Patio ...

Recycled Chengal wood from a public playground.
Our home before the patio
Wood purchase from our regular lumber yard.
We sanded down and varnished the wood.
Hubby cut the edge of the wood for some design.
The wood cut to shape.
The wood is varnished and will be used as beams.
Here Hubby sets the beam.
Beams all set.
One of the pillars is secured to the wall.
The pillars are up.
Another view of the pillars.
Now the beams go up.
The patio is almost done ...
The roof is covered with roof aluminium sheet.
This will act as a cooling function for the patio.