Wednesday, December 26, 2012

Four Panel Doors


One of the features of this house that we liked very much was the four panel French doors.  The outside of these doors were painted white while the inside was painted brown.  As usual, our Contractor advised us to dispose of these doors, trying to convince us that we can't bring back the wood color, that if were to use them again, two of the doors had to be 'dead' doors meaning that it could not be opened.

It was a good thing that Hubby and myself were adamant.  For the past six months, all our weekends were spent sanding down the doors to wood grain.  We had to take the glass panels out, wipe them clean, buy new beading to fix them back and varnish the doors.  We even had to fix the grill ourselves, after ordering the grill from the grill contractors.  The sad part about these four panel French doors is that we had to fix grill, it sort of spoilt the beauty of the four panel French doors.

Here are the progress of our four panel French doors.

BEFORE : The four panel French door before the renovation
AFTER : The four panel French door after the renovation
The four panel French door after renovation, sand down to wood grain
Hired help varnishing the four panel French doors
The doors taken out and getting ready to sand down
The wood was sanded down to wood grain
Tried using paint remover to remove the white paint at  the beading area.
Not successful, so rather than waste time, we bought new beadings and fixed them.
A close up of the sanding down


Saturday, November 24, 2012

Furniture Refurbishment

I have been inspired by a DIY blog called http://www.younghouselove.com/

They are a husband and wife team that does a lot of DIY projects around their  house.  The best part is that they share their secrets and ideas.

I have been picking up some furniture that people have thrown out of their house.  They seem to be in good condition, and unique in design.  They just looks a little old and worn out.

Here are three rattan chairs that I have found and brought home.  Rattan chair ONE is rather common in design, but I liked it and it is comfortable to sit on.  Rattan chair TWO was picked up from the same rubbish dump as Rattan chair ONE three months later.  Rattan chair THREE was found sitting outside opposite a house which was near to our new home.  

With all these three chairs, what I did was spray paint them in white, changed the cushion cover for one chair, bought a cushion for RM10.00 for another and left the one empty.
The condition of Rattan Chair ONE which was found at a rubbish dump
After a few repairs and a coat of white spray paint, this chair is good to sit on.  No cushion needed.
Rattan Chair TWO was also found at the same rubbish dump as Rattan Chair ONE about three months later.  It's unique in design and heavy too.  Gave it a wash and dried it out in the sun.  Sand paper a few parts too.
Gave it a few coats of white spray paint before it could be finally used.
Bought a cushion for RM10.00 at a local cushion and curtain shop.  It now sits at one of the corner in our living room.
Chair Rattan chair THREE was found outside opposite a house nearby to our new home.  It was ivory in color and the cushion was worn out.
Sand paper some of the sides, gave it a few coats of white spray paint and put a new cloth over the old cushion.  This chair too sits at the corner of the hall


Friday, November 23, 2012

Kitchen Cabinets Wishlist


When we first designed our kitchen, we had a look and compared with so many places like Ikea, the internet and other kitchen solutions.  We compared the designs, the quality and of course the price.  In the end we settled for Kitchen Palace (http://www.kpinterior.com/v1/).

In our minds, we had already set for a white open kitchen with simple lines.  Meaning that we didn't want our cabinets to have all the frills, just straight lines.  We didn't want a traditional nor a modern kitchen.  We wanted something in between.  We didn't have much space to play with in our kitchen.  If we fitted in too many cabinets, our kitchen would look small and we would not have like the open space that we wanted.

We designed the kitchen in mind that we will entertain friends our friends there.  Being Malaysian, all our gatherings involves food.  And honestly, we designed our kitchen based on one of Ikea's design at their store.  So in the end, did we imagine how our kitchen would turn out to be?  Is our kitchen what we expected it would be?  Yes! and Yes!

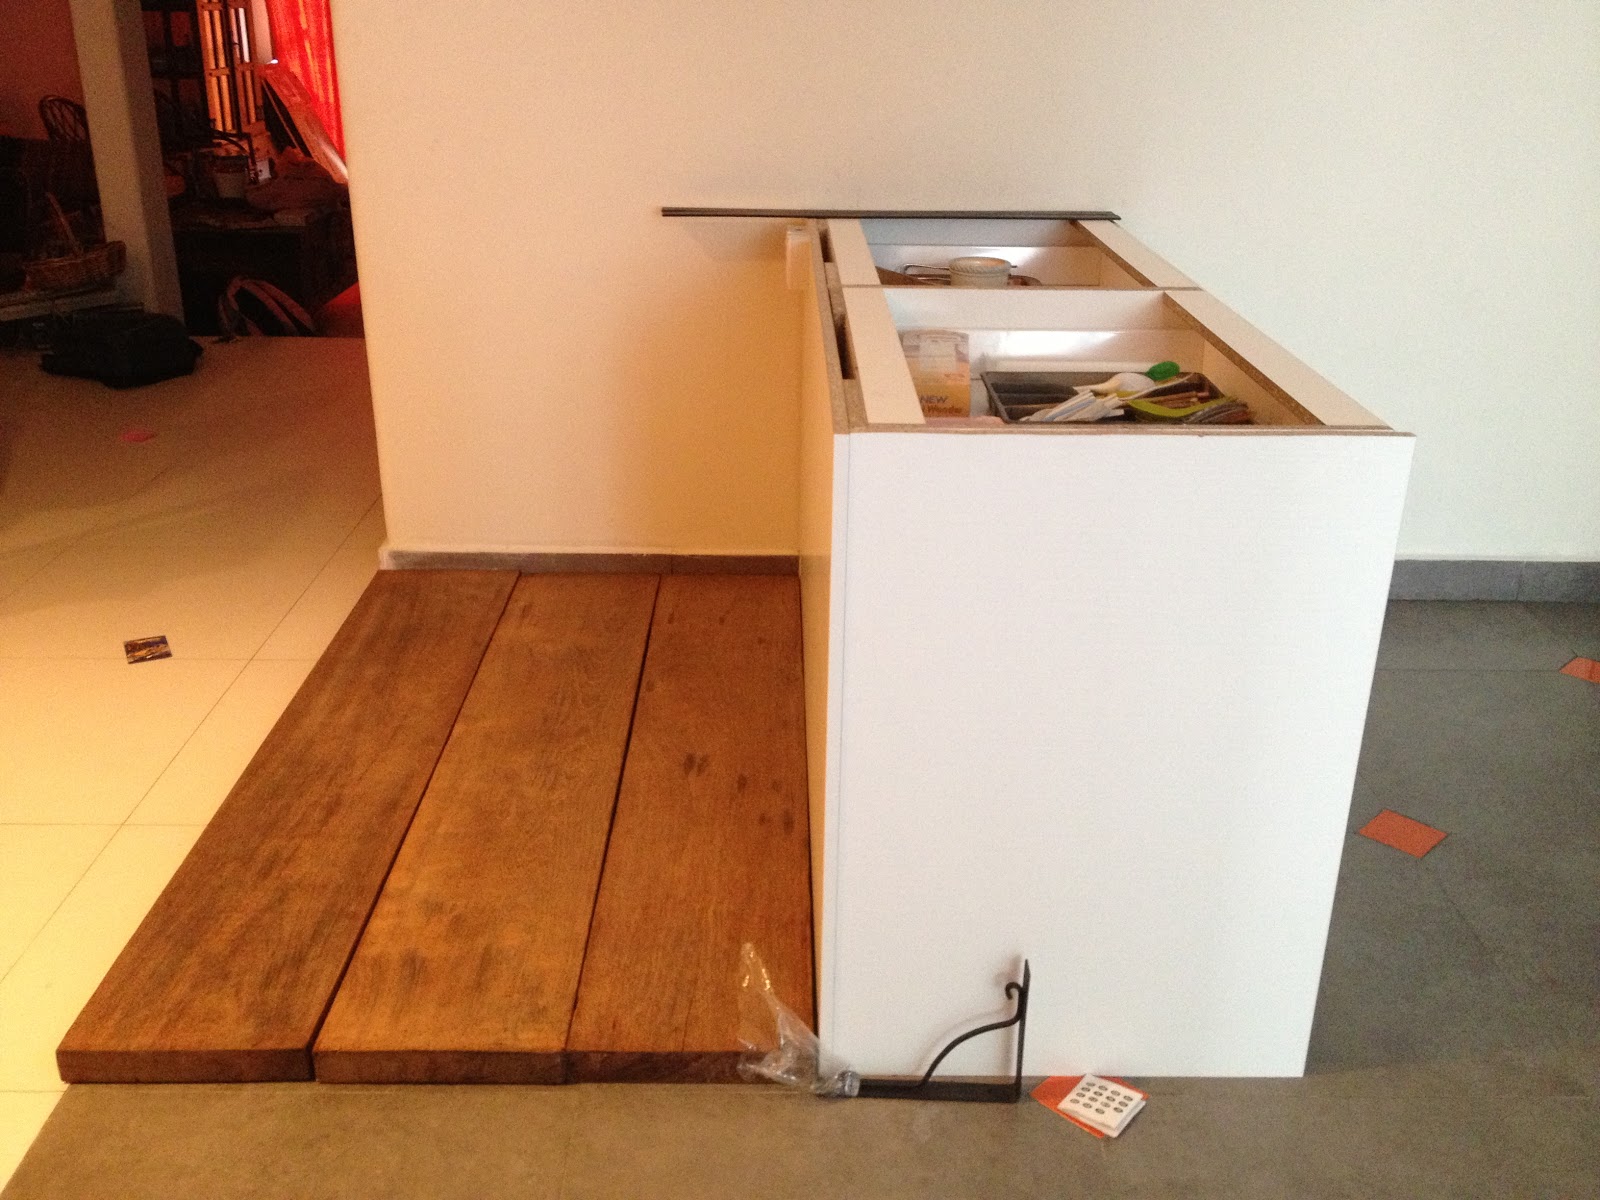
The only pending thing for us  to do in  our kitchen now is to fix the Penisular's countertop.  We've made the the countertop already, just need to sand it down again, varnish it and secure it.

The Penisular and the wood for the countertop sitting on the floor
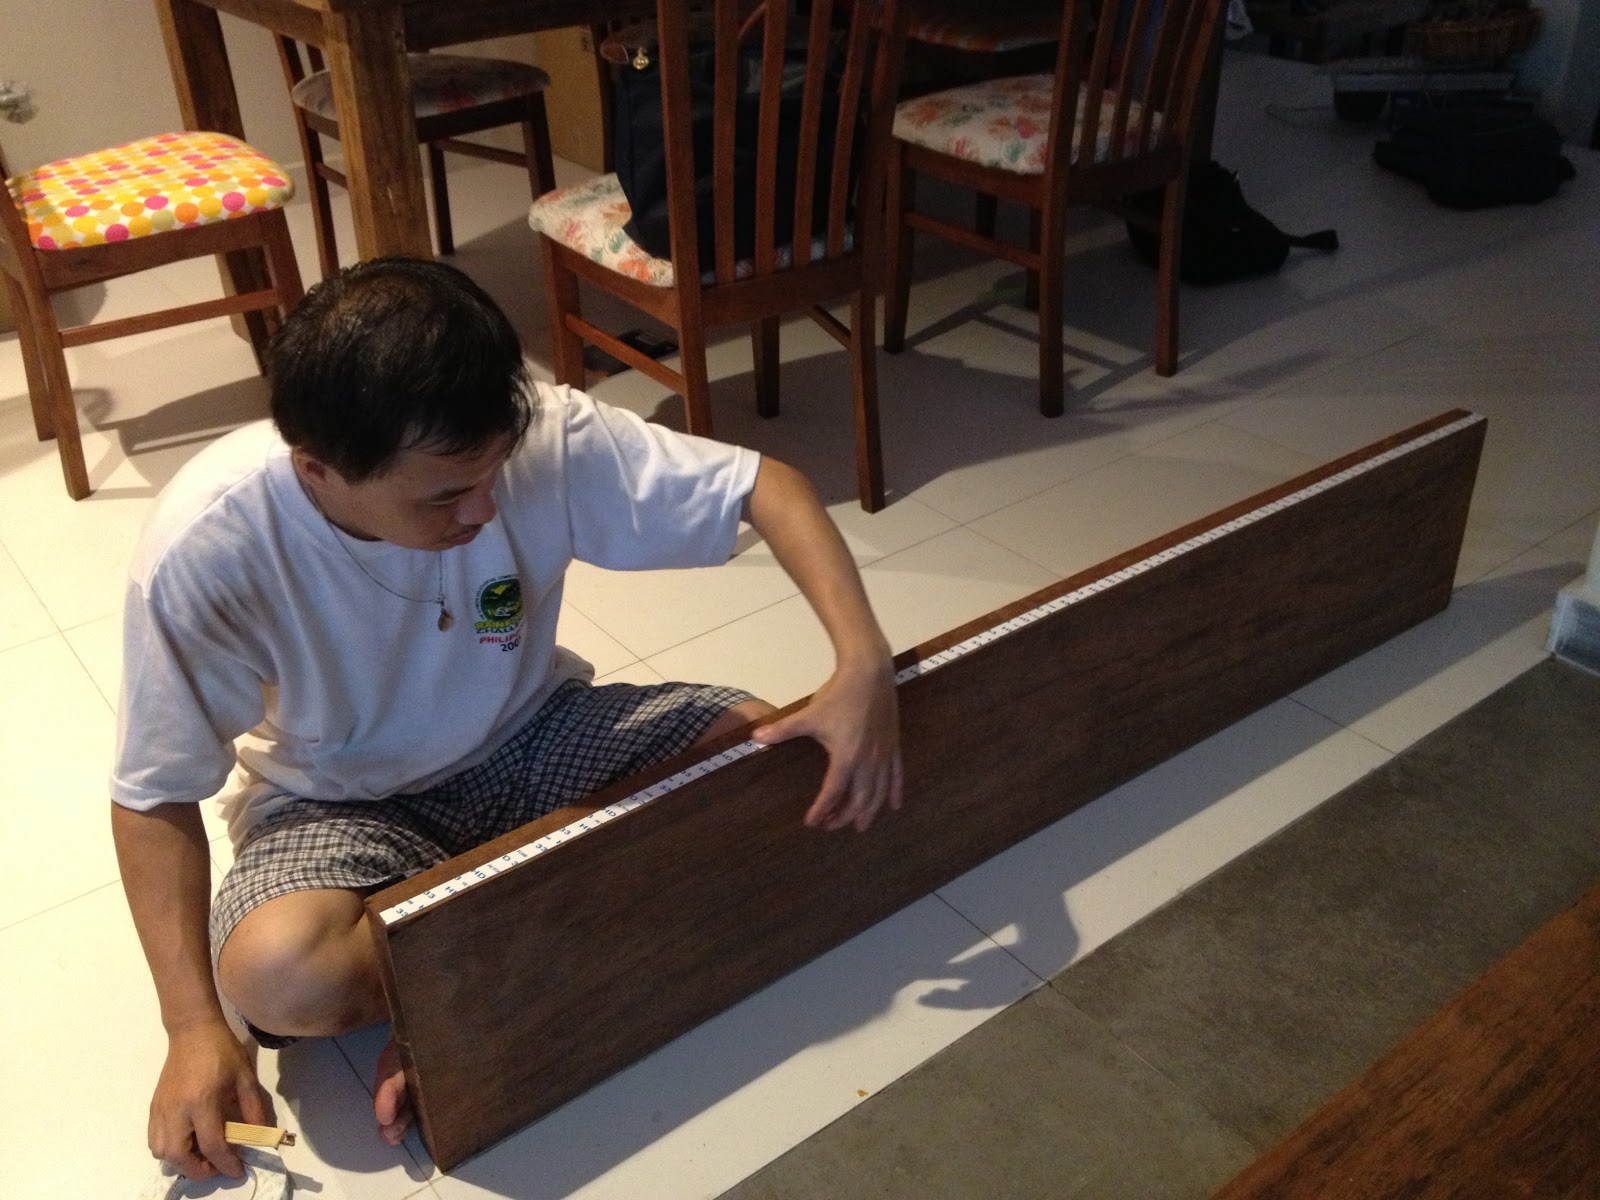
Hubby fixing the wood for the countertop
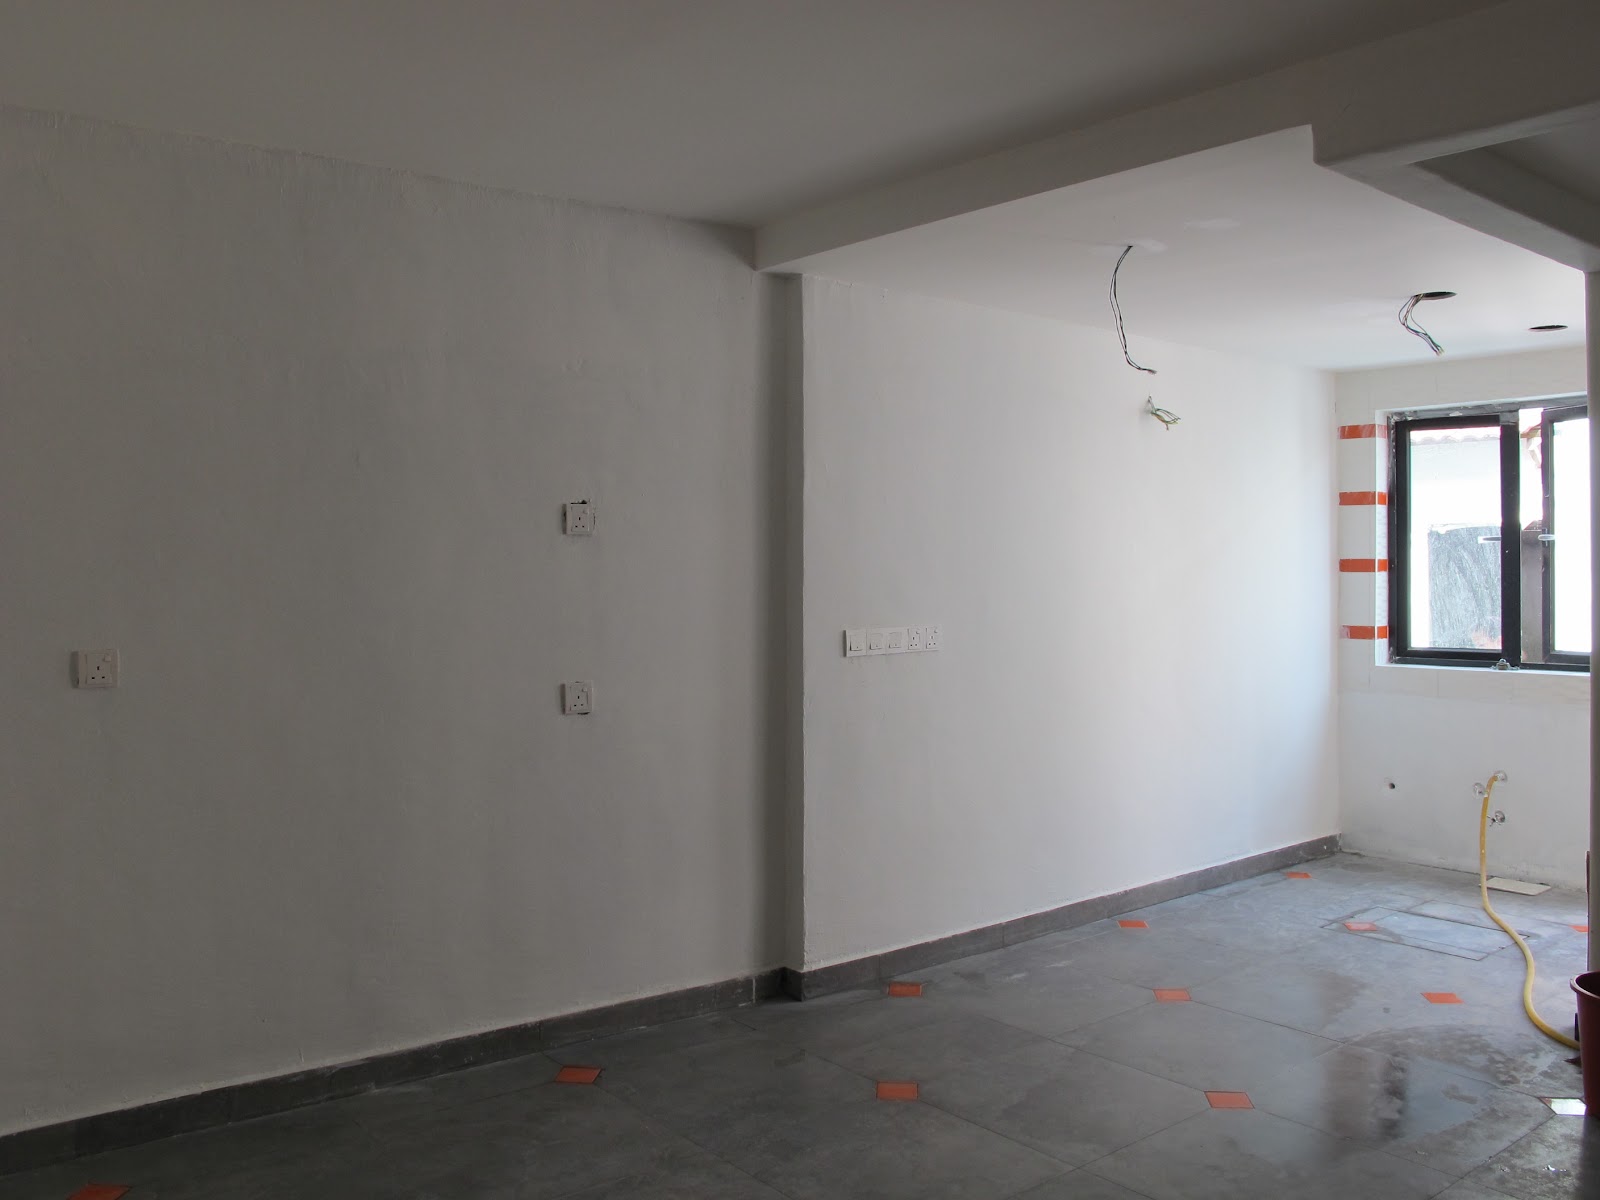
Ikea's model kitchen that we like
Our own kitchen : similiar


Monday, November 5, 2012

Kitchen Cabinets

Our kitchen cabinets was installed in two days but minus the counter top which came in two weeks later.  The two installers were efficient, organised and most importantly clean.  Unlike other contractors who would just do their work and then leave their mess behind for the owner to clean, these two men were constantly sweeping away everytime they saw or cut wood.


The two installers installing the kitchen cabinet
Kitchen cabinets installed minus the counter tops
A semi functional kitchen, counter tops are installed BUT minus the fittings for the sink
Cooking and washing area
The cooking area with the cooker and hob
The Peninsular without it's counter top

I can't recall the material that we use for the kitchen cabinets. The counter top is Corian, black color with some other smaller white material. As for the kitchen cabinet, it's white in color, flat without any design but it you go closer, from the side, you can see that it's a little wavy.


The cabinet material ...
A close up of the cabinet and it's handle
Hubby fixing the counter top for the Peninsular
The sink minus the fittings ~ waiting for our plumber to fix it
My tin collection displayed above the cabinets
The Peninsular's counter top which Hubby will be fixing
The oven and microwave


Thursday, October 4, 2012

A Tinge of Orange

We love the color Orange ... ok, ok, maybe I love the color Orange!  Not because I am of Dutch Descendant but because I think the color Orange is a very lively color!  So you can imagine if our new home has a little bit  or rather a tinge orange.  

In Feng Shui, the color Orange presents the fire element and it is best in suited for the living room, dining/kitchen and children's playing room.  This color gives you a playful, lively and pulsating energy.  It's  advisable to either accessories the color in decor or as a feature wall rather than a full room color.

For us, we've painted the feature wall in our dining room, inserted small square tiles in the entrance landing area as well as the kitchen.  We have also added the border in Orange for part of our kitchen wall.

I am not a risk taker, so to add this color into our new home, I think I made the right choice.  I know I like it and that is all that matters.

The small Orange tiles inserted at the entrance landing
Painting the dining feature wall Orange
Another one more coat to go
The kitchen flooring with the same small Orange tiles inserted
(Note : Kitchen cabinets not fitted as yet)
The Orange boarder at the kitchen wall


Chronicles of our Main Door

Our main door is now almost complete.  We have hired help to varnish the door and it looks beautiful!  This door has now become a conversation piece in the neighbourhood as well as contractors who have been moving in and out of the house.

Now all is left to do is to fix the glass at the side.  We wanted Nyonya glass but at the very last minute, BTW this is rather norm already coming from our Contractor, he said that Nyonya glass do not come in the size that we want.  He suggested that we go for normal glass and tint it! I am like "What the &%^*???"  Anyway so now we are sourcing for the glass on our own.

So we'll leave you now with the chronicles of how our main door became ...

The chosen Chenggal wood for the main door
Cutting the wood to the desired size
The Master and his hired help
The door frame and the door
The door frame being installed 
The locksmith installing the lock
The modified hinge for the main door
The main door and it's maker
The main door gets a coat of varnish


Friday, September 21, 2012

Tiling (Part 2)


The tiling of our new home is now completed.  The porch tiles are terracotta tiles and is bordered with black tiles.  Terracotta tiles were also used for the entrance landing and was tiled with small square orange tiles in between.  The hall was tiled with white tiles and the kitchen was tiled with grey tiles and small square orange tiles.  The kitchen wall at the back was tiled with white tile and trimmed with orange tiles.  These orange tiles were used throughout the house.

As for all the three bathrooms, we've chosen black and white tiles. The sales person who sold us the tiles, came up with the designs for each bathroom. For the shower area, we pebbled wash the shower area for all three bathrooms.

As we had balance tiles, we tiled our back lane as we built a outdoor sink with a RC slab.  This out door sink will be used when we are entertaining.

So here are some pictures for you to look at and sorry about the mess ~ will promise nice pictures once the house is cleaned.

Laying of Terracotta tiles at the porch
The almost completed Terracotta tiles at the porch
The tiler initially tiled the entrance landing with white tiles from the hall - sort of like a continuation
But we told the tiler to change it to Terracotta tiles and inserted with small square orange tiles
The master bathroom with white tiles inserted
The children's bathroom
The guest bathroom
The back yard / land cemented and getting ready for tiling