Showing posts with label Roof. Show all posts

Thursday, June 5, 2014

DIY Patio Update : Roof Tiles

Wow ... blogging duties neglected ... anyway ... here we are back again ... we have a lot to update but let's start with the roof tiles for the patio.

Ok, so the roof tiles are finally up after 5 weekends.  It took team work to get those tiles up.  Hubby was up at the roof, me on the ladder and kids on ground, kids passing me the roof tiles and me to hubby.  The roof tiles had to be removed after it was installed as it was leaking.  After Hubby rectified the problem, fingers crossed, so far so good.  Only left to do is to installed the gutters as rain water is going into our neighbors compound.

So here are the pictures and what we did ...

Tiles being brought up
The baton is set according to the tiles
A close up of the baton
The baton being secured onto the plywood
The roof tiles are ready to be laid
Tiles being laid from outer roof to inner roof


The plywood is quoted with water proof paint, Bituflex 101

Tiles are laid in progress


Friday, January 17, 2014

DIY Patio Update

Our DIY Patio is about 60% completed.  We are now preparing for the roof tiles.  Initially we planned that once the insulation is up, we will install the roof.  However, when you look up, you will see the insulation, something like looking at tin foil. So it was a no no.  Then, I wanted the look of something like a resort, where you look up, you will see the roof tiles.  That idea too was 'rejected' by Hubby, reason being was that it would make the patio very hot if we wish to sit there in the afternoons, due to no insulation.

So now, Hubby has install ply wood which was stained, followed by the insulation and then up goes the roof tiles. More updates soon!  In the meantime, here are some pictures to show you on our DIY Patio progress.

Recap : BEFORE DIY Patio was installed
Recap : AFTER DIY Patio was installed
Cutting the ply wood to size
Hubby's new 'toy' a jigsaw cutter.
Purchase for less that MY100.00 at Cash Converters
BEFORE : We will be looking at the insulation,
which looks like aluminium foil
AFTER : Now we will be looking at ply wood,
which feels much cosy to look at
The insulation before the roof tiles is installed

Thursday, April 4, 2013

House Tour : Mezzanine Floor

We have created an extra space, or rather an extra floor to the house.  It's another floor after the 2nd floor.  Typically in Malaysia, when you say you live in a double storey home, you just say, downstairs and upstairs. So I suppose you can say that we created another floor after the upstairs and this would make our home a 2.5 storey home ...

We loving call this the "M Floor", M for Mezzanine.  It's basically an open space where the TV and library are. This is also a place where the children can sleep when guest use their rooms.  They just love it up there, it's like 'camping' they said.  

It's also has a small little storage area in the roof.  Yes, you read right! Our store room is IN THE ROOF!

Can't visualize?  Well, I think I'll photo blog this post!

Before renovation, the upstairs and landing area
Before renovation, the upstairs and landing area,
will eventually lead up to the M Floor
During renovation, the M Floor in the making
During renovation, from down looking up
During renovation, the 'raw' M Floor
During renovation, the M Floor being screed
Overview of the M Floor, the 2 windows faces the backyard
The M Floor with walls painted in lilac
The M Floor with the timer flooring,  if you can see a
little entrance on the left, that is the door to the store room
which is also the roof
View when standing at the staircase, we later fixed the railing
The timber flooring at the M Floor has been varnished
The personal library being organised

Thursday, August 23, 2012

Renovation Progress 6 : The Whole House

Our renovation has taken longer than expected.  It started in March 2012 and was suppose to take only about 4 months but it's now coming into the 6th month.  We must admit the contributor towards the delay in our renovation was not only the Contractor but us too.  The beginning of our renovation,  the contractor was slow, but later picked up the pace, then there were some decisions that I had to make, which I did but changed my mind again and again.
 
Anyways, as of todate, 21st August 2012, the plaster ceiling is almost completed, the main door and patio doors have been fixed.  The floors have been screed, inside and outside.  We've bought our tiles, our sanitary wares and our water heaters.  The windows too has been installed by our Contractor.

The main door and patio door has also been installed.  We had several challenges with installation of the main door.  It was  one challenge after another.  Normal hinges were not able to hold the 300kg door.  It has to be custom made.    Then the lock did not quite fit and that's still in modification mode.

Here we leave you guys with some of the Before and After pictures.  More to come.

Before : The façade
After : The façade is now squarish
After : Main entrance on left and patio entrance on the right
Roof Installation : Workers installing the new roof
Roof Installation : Workers installing the Roxul for the new roof
Before : Master bedroom
After : Master bedroom


Thursday, April 19, 2012

Sourcing Sourcing

Every weekend and holiday is now spent on sourcing for items and materials for the new renovated home.

We've been going to Klang, Puchong, Sg Buloh and even Kuala Selangor to source for wood, sanitaryware, kitchen cabinets, tiles and visiting exhibitions for decoration and renovation.

Here's what we need to source for the moment :
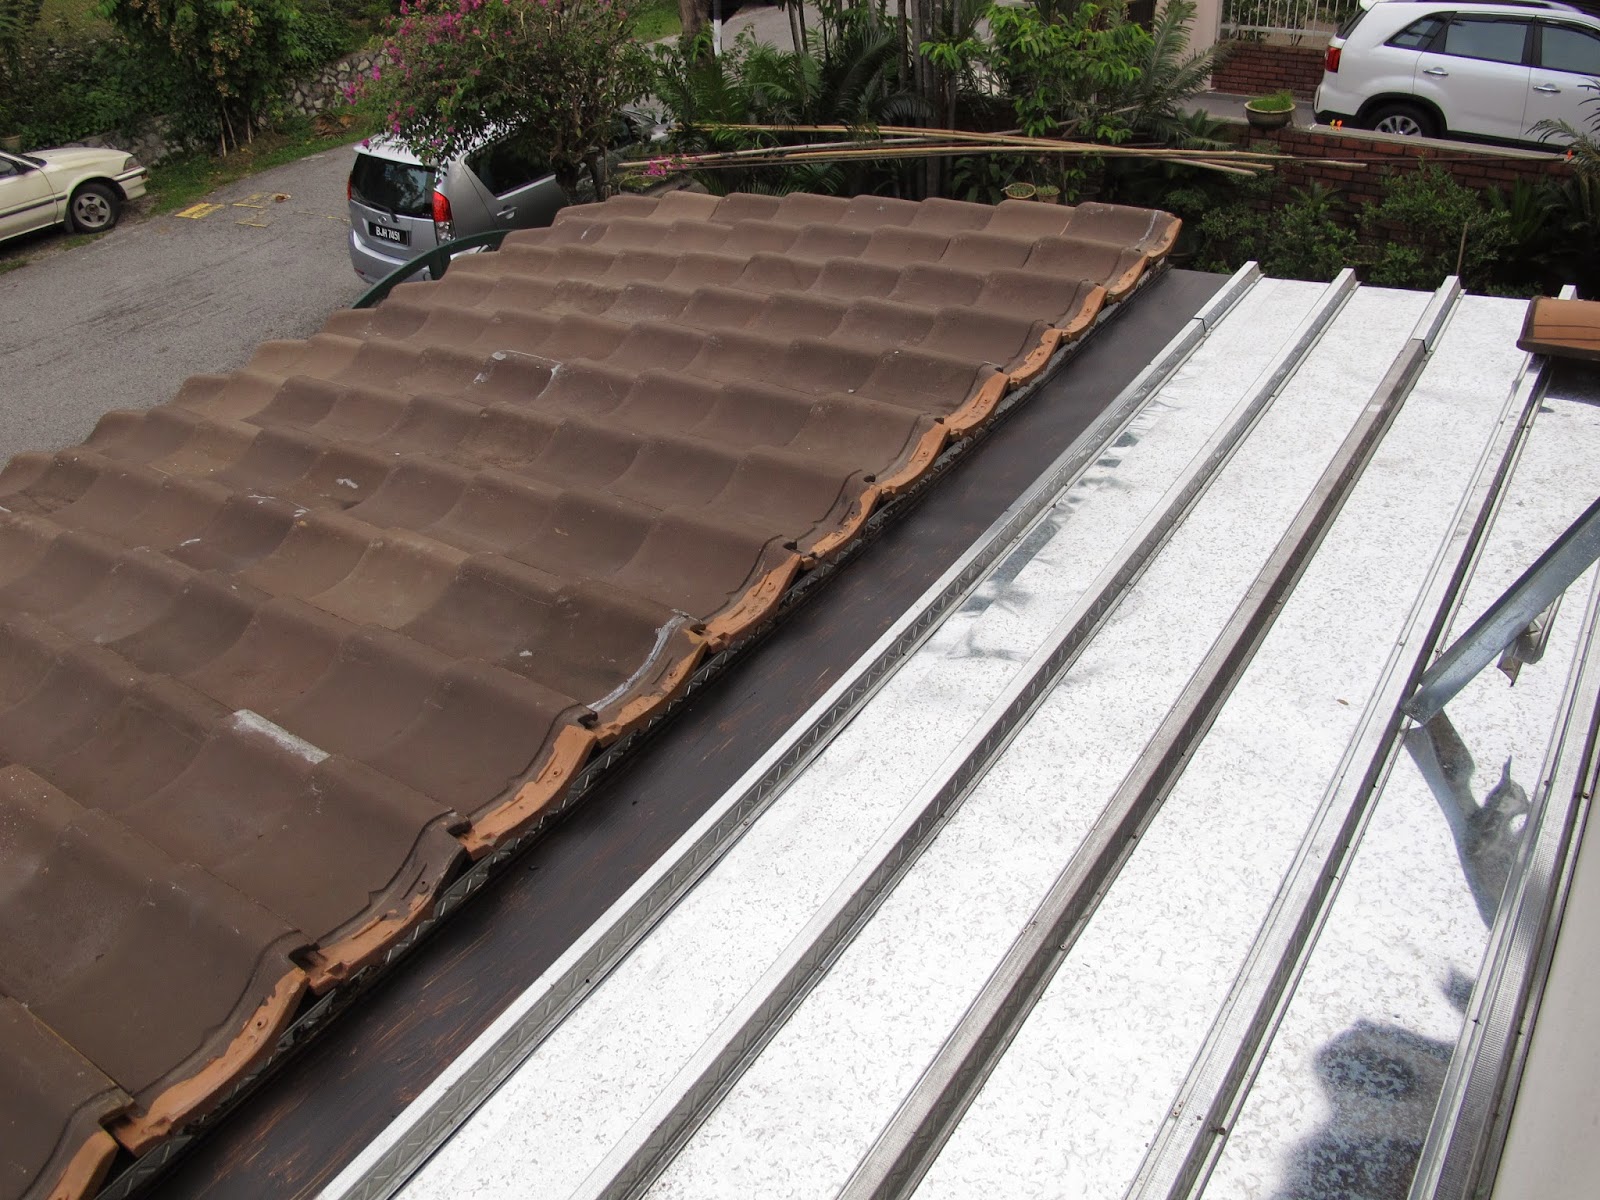
1. Roofing

2. Doors & Windows as well as their frames

3. Tiles for hall, dining, kitchen and bathroom

4. Sanitaryware - sinks, consoles, wcs, showerheads and bathroom accessories

5. Kitchen Cabinets

6. Hob, cooker, oven and microwave

7. Kitchen Sink

8. Lighting

I am having a headache already just thinking about this.